
Please follow these instructions precisely when installing your kit since we cannot replace kits damaged by improper installation.
Before installation and prior to peeling red plastic, confirm that each piece in the diagram (attached) fits properly.
If something does not match, STOP the installation process and contact American Dash Inc. via email sales@americandash.com or by phone at 718-258-2300.
Follow 4 easy steps:
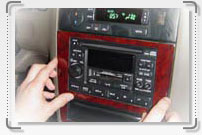
Step 1:
- Clean the surface inside your car with alcohol pads (included in package). The surface must be dry and free of any grease, oil or contaminants for proper adhesion.
- DO NOT APPLY ALCOHOL TO THE SURFACE OF THE PIECES. IT WILL DESTROY THE FINISH.
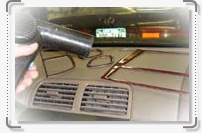
Step 2:
- Carefully apply the adhesive promoter provided with the kit only to the corners of the dash where you will install parts that have to curve. Let the adhesive promoter dry for 2 minutes before continuing.
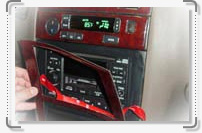
Step 3:
- Lift a small part of the red plastic backing to create a “tail” and turn it to the side. Use the lifted area to peel the remaining red plastic.
- Line up the peices and gently apply it to intended surface with sticky side down. Slowly spread the area of contact while peeling off the red plastic material to remove the rest of backing.
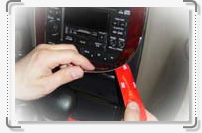
Step 4:
- Apply tumb or finger pressure to the entire peice while gently warming it with hair dryer or heat gun (if necessary) to bring it to body temprature.
- DO NOT OVERHEAT
- Clean the peices with Windex or similar cleaner after installation is complete for a glossier finish.
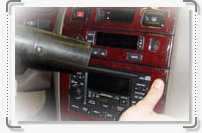
Step 1
Step 2
Step 3
Step 4
Helpful Tips:
Tip 1: Large peices are easier to install if you leave several “tails”. Cut the red backing with a sharp knife when necessary to allow for setting in stages.
Tip 2: Where the surface is not flat, warm the peices to make it flexible before applying pressure. When the peice is warm enough (about body temprature) it will easily bend to contour of the vehicle.